Author:
Updated:
2 October, 2024
Here, an overview of performing ultrasound on acute patients is described, including examination of the thorax and abdomen. The expanded examination for acute trauma cases, known as eFAST, is also covered.
Extended Ultrasound Examination of Trauma Cases (eFAST)
eFAST is an ultrasound examination of the abdomen and thorax (extended) that is useful in guiding the treatment of trauma patients when CT scans have not yet been performed (e.g., prehospital or in the emergency room) or are deemed inappropriate, such as in the care of severely injured patients requiring immediate surgery. In experienced hands, eFAST can quickly provide answers to the following questions:
- Pneumothorax
- Pleural fluid
- Free fluid in the abdomen
- Pericardial fluid
The amount of free fluid that can be visualized is not necessarily correlated with the severity of the condition and should be interpreted based on the clinical picture. The examination should ideally be performed without interrupting other clinical treatments and is usually done in parallel with primary patient care.

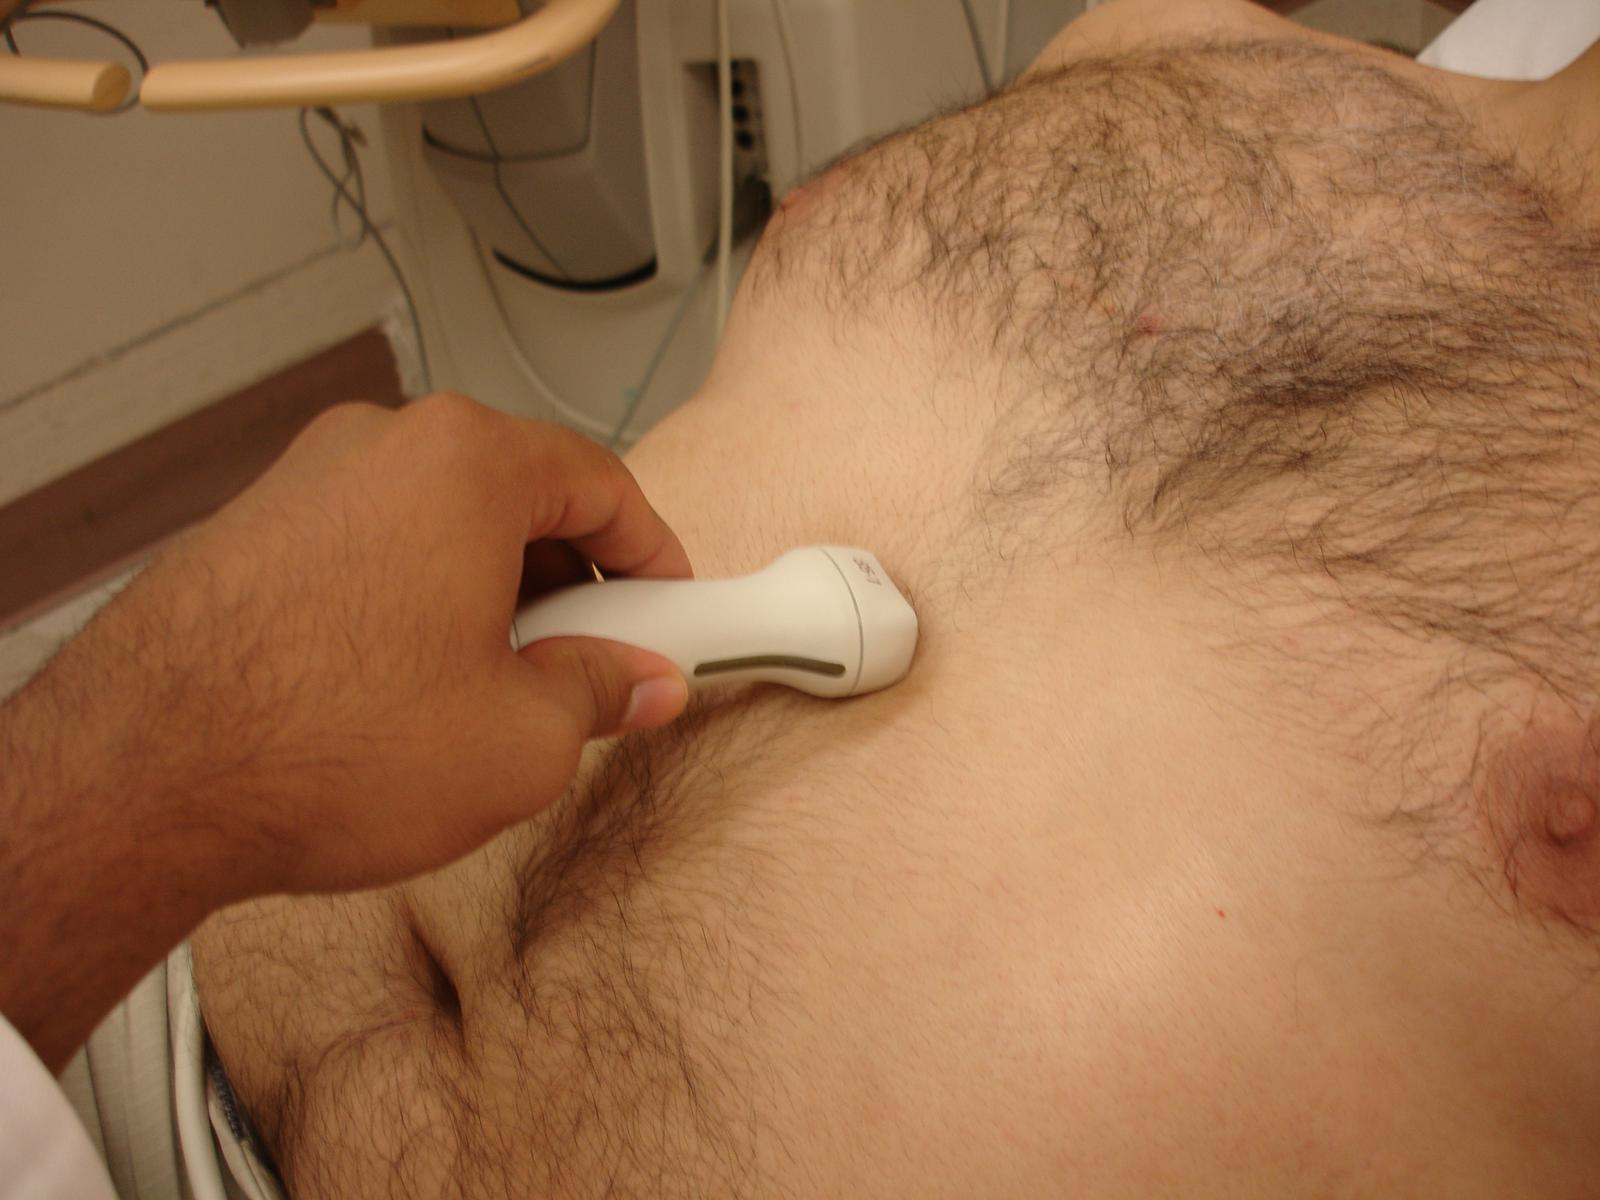
We recommend using the ultrasound probe intended for abdominal examinations (also known as a curved linear or Curved Array Probe) for the entire eFAST exam, but for some patients, it may be necessary to use the Phased Array Probe for a satisfactory heart examination. The probe marker should always be oriented cranially during a longitudinal scan or to the patient’s right side during a transverse scan. To ensure safety, the indicator marker should be placed on the left side of the screen.


The following imaging windows constitute eFAST, with green indicating traditional FAST views, and red marking the extended examination (EXTENDED) views.
Lung Examination – Anterior Approach (Supine Position)
The anterior lung view (right and left sides) is primarily used for detecting pneumothorax and should be performed in the apical areas of the thorax. In the supine position, this corresponds to the 2nd to 4th intercostal space in the midclavicular line. Place the probe longitudinally on the chest with the probe marker directed cranially. This provides a typical “bat sign” image (bat-like) with two ribs and the pleural line between them. Look for all typical lung ultrasound artifacts: lung sliding, lung pulse, A-lines, and B-lines. The aim is to identify the presence of air between the visceral and parietal pleura.

For a more detailed description of lung ultrasound, see “Narkosguiden – Ultrasound of Thorax and Lungs“.
Below, you can see two underlying ribs and the pleural line between them, forming the “Bat Sign”.

Pneumothorax is likely if there is an absence of lung sliding, B-lines, and lung pulse. The presence of a “lung point” (the junction between sliding and non-sliding lung tissue) confirms pneumothorax with near 100% certainty, while the presence of B-lines excludes pneumothorax at the scanning point. We do not recommend using M-mode scanning in trauma examinations.
Always consider the most common causes of false-positive signs of pneumothorax during scanning:
- Bronchial intubation
- Apnea
- Pleurodesis
Pleural Examination
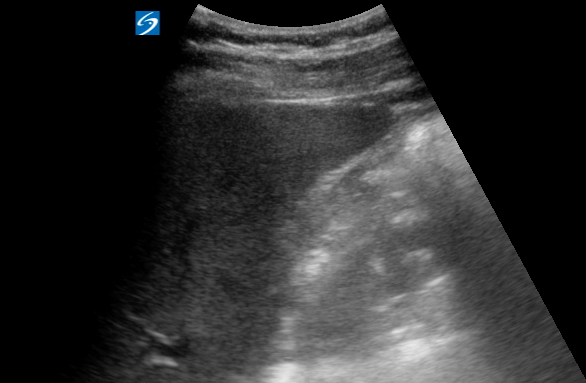
Pleural examination (right and left sides) is primarily used to detect pleural fluid (e.g., hemothorax in trauma examinations) and should be performed in the lower thorax along the posterior axillary line. The eFAST examination of the pleural space can be considered an ultrasound examination of the diaphragm.
Place the probe with the marker directed cranially and scan cranially and caudally until the boundary between the lung and liver (right side) or spleen (left side) is identified. Identifying the diaphragm between these structures is crucial for determining the location of any free fluid detected during the examination. Slide the probe cranially one intercostal space and angle it parallel to the ribs for the best evaluation of the area above the diaphragm.

The presence of lung artifacts or “mirror image” of the liver or sple en just above the diaphragm is a sign of pleural fluid. Any black or anechoic area indicates pleural fluid. Additional signs of fluid include the presence of the “spine sign,” where the vertebral bodies become visible at the far end of the screen, which is not normally seen unless there is fluid accumulation.
Figure 1: Normal image: Note the pleura and lung artifacts immediately adjacent to the diaphragm.

Figure 2: Pleural fluid. Anechoic fluid (black area) above the diaphragm (a collapsed lung was also visualized within the fluid collection).

Right Upper Quadrant (RUQ)/Liver and Kidney Examination
The right upper quadrant (RUQ) (liver and kidney window) is used to detect free fluid in the abdomen within the peritoneum, particularly around the liver and within the hepatorenal recess (“Morrison’s pouch”). The probe position is very similar to that used for the right pleural space—longitudinally with the probe directed cranially—but slightly more caudal and toward the middle of the axillary line. As with pleural examination, once the liver and kidney have been identified, rotate the probe parallel to the ribs to avoid rib artifacts. Scan through the liver to exclude free fluid. It may be necessary to slide down one intercostal space to examine the liver’s lower pole. There are three distinct components to examine in this window, corresponding to 3 potential spaces for fluid accumulation, each of which must be carefully assessed:
- Between the diaphragm and the liver
- The hepatorenal recess
- The liver’s lower pole
A normal RUQ examination consists of 3 mandatory views. Images are shown here:


Free fluid appears as a black/anechoic area, typically with sharp edges indicating fluid in a recess (as opposed to rounded edges, which indicate blood vessels or the gallbladder).
Below is an example of free fluid under the diaphragm (a small amount of pleural fluid is also present).

Below is a significant amount of free fluid around the liver’s lower pole.

Left Upper Quadrant (LUQ)
Unlike the RUQ, free fluid in the left upper quadrant (LUQ) accumulates around the spleen and not necessarily adjacent to the left kidney. The focus of the examination is under the diaphragm and around the spleen as a whole. The probe position is slightly different from the opposite side, with a more cephalad placement along the posterior axillary line. To examine a patient in the supine position, the examiner’s hand should rest against the bed (it may need to be slightly pressed under the patient’s back). Avoiding artifacts from a distended stomach (filled with gastric content) can be challenging in trauma cases, requiring a pronounced posterior approach for satisfactory visualization of the spleen.

Normal LUQ window seen here:

Free fluid under the diaphragm surrounding the spleen:

Pelvic Examination (Pelvic Window)
The pelvic examination with ultrasound (“Pelvic Window”) uses the bladder as an “acoustic window,” and the goal is to determine if there is free fluid between the intestines, bladder, or other pelvic organs. A full bladder is therefore desirable. If a urinary catheter is inserted immediately before the examination, it should be clamped until the eFAST examination is complete. Begin by placing the ultrasound probe just above the symphysis pubis and scan down toward the pelvis from the midline in both longitudinal and transverse planes.


In women, a small amount of fluid in the pelvis is physiologically normal, while in men, the seminal vesicles may appear as hypoechoic (dark) structures and should not be mistaken for free fluid.


A normal pelvic window is examined in both transverse and longitudinal planes. Note the prostate gland in the first image. The uterus occupies a similar position in women in the second image.


Epigastric Window (subcostal)
The epigastric window is used to identify pericardial effusion. Place the probe in a transverse position immediately below and to the patient’s right of the xiphoid process in the epigastrium. This examination uses the liver as an “acoustic window,” and it may be necessary to move the probe towards the patient’s right side to scan through the liver for a satisfactory image. In practice, it is often easiest to start with the probe lying flat against the patient’s abdomen, directed towards the left clavicle. The final angle relative to the skin plane for a good image may be as little as 5-10 degrees with the handle tilted upwards.
Look for signs of pericardial effusion. Cardiac tamponade is a clinical diagnosis that cannot be determined solely by an eFAST examination. Both the anterior and posterior portions of the pericardium must be visualized to confirm a negative examination. Always consider pleural effusion if fluid is only visualized in the posterior field. Another common cause of a false-positive examination is the presence of epicardial fat, which appears hypoechoic (dark) but not anechoic (black).
Normal image, note the anterior and posterior portions of the pericardium.

Pericardial effusion, note the dark areas.

